Table of Contents
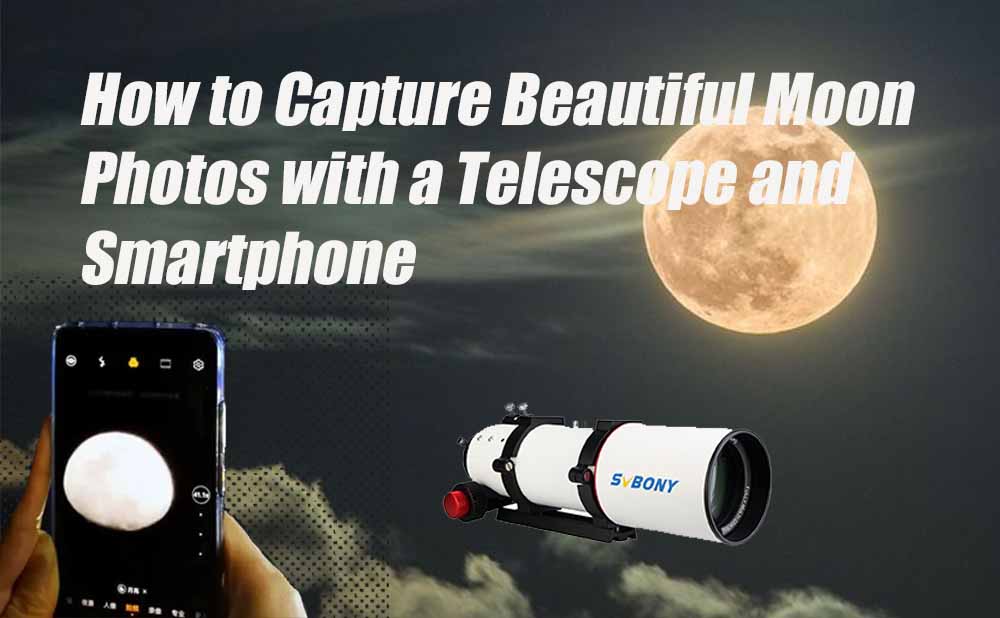
How to Capture Beautiful Moon Photos with a Telescope and Smartphone?
Introduce
Ten years ago, smartphones had cameras with only 300,000 pixels, making nighttime photography nearly impossible. Back then, low-light conditions resulted in grainy images, and shooting the moon was out of the question. However, thanks to technological advancements, today's smartphones are equipped with CMOS sensors boasting over 20 million pixels, powerful autofocus systems, metering capabilities, and built-in image processing chips. These enhancements have greatly improved smartphone photography, allowing users to capture satisfying moon photos that often require no post-processing.
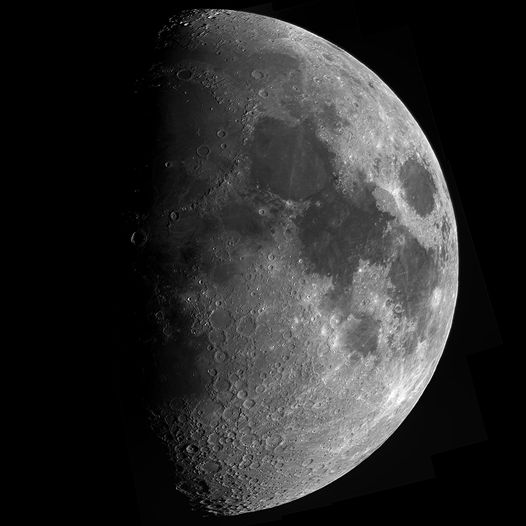
The basic idea for photographing the moon with a smartphone is straightforward: point your phone at the moon, zoom in, stabilize, and press the shutter button. While this method can yield an identifiable image of the moon, it lacks intricate details. To achieve a clearer view of the moon, we need the assistance of a telescope to combine the smartphone's capabilities with a more powerful optical instrument.
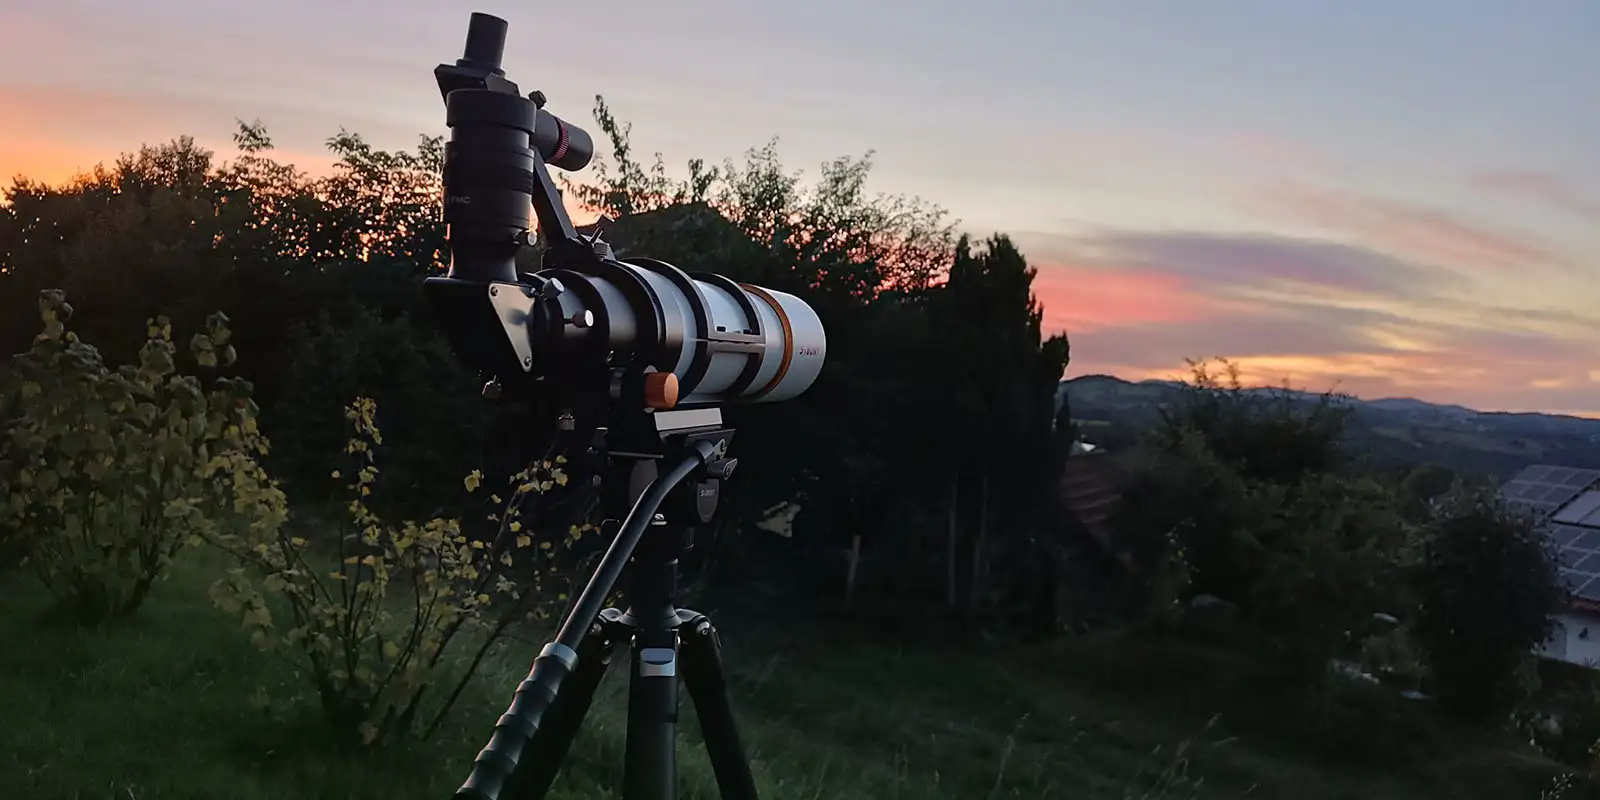
Shooting equipment
In addition to a mobile phone and a telescope, if we want to shoot the moon, we also need a mobile phone holder and an eyepiece.
When taking pictures, it's essential to use the telescope’s eyepiece because the structure of a smartphone camera is similar to that of the human eye. Just as our eyes rely on the eyepiece to focus on celestial objects, smartphones also benefit from this setup. Therefore, ensure that the smartphone camera is aligned with the center of the eyepiece to effectively capture the image.
To stabilize your shots, it's advisable to use a specialized smartphone mount ( like SV214Pro phone adapter). This accessory will help secure the phone to the telescope's eyepiece, minimizing shake caused by hand-held shooting.

Photography Steps
1. Set Up the Telescope and Eyepiece
Ensure your telescope is properly assembled and pointed at a clear view. Choose an appropriate eyepiece (like 25mm or 9mm) and install it onto the telescope.
2. Focus and Locate the Moon
Use the finderscope to locate the moon and ensure it is within the main telescope's field of view; Adjust the focus of the telescope until the moon appears clear and sharp.
3. Secure the Smartphone
Install the Smartphone Mount: Attach the smartphone mount to the eyepiece of the telescope; Insert the Smartphone: Place your smartphone into the mount, ensuring the camera aligns with the center of the eyepiece. Avoid obstructing any buttons on the phone.
4. Confirm the Field of View
Launch your phone's camera app and slightly adjust the phone's position until you see the complete view of the eyepiece on the screen; Once confirmed, lock all adjustment knobs to prevent movement.
5. Adjust Exposure and Shooting Settings
Tap on the moon on your screen to activate the metering function, and reduce brightness as needed to avoid overexposure; Use the phone's shutter delay feature to minimize shake when pressing the shutter button.
6. Capture the Photo
After ensuring the image is stable, press the shutter button to capture the image; Try different eyepieces and settings to achieve the best results.
7. Review the Results
After shooting, review the captured photos to see if they meet your expectations. If not satisfied, continue adjusting and repeat the process.
Photography Techniques and Playful Approaches
Technique 1: Capturing a Full Moon Landscape
Select a 25mm focal length eyepiece for approximately 38x magnification. During shooting, tap the screen to adjust the exposure of the moon to prevent overexposure. Once the brightness is set correctly, press the shutter button to capture a clear photo of the moon's full landscape.
Technique 2: Capturing Detailed Close-Ups
To get more detailed shots, switch to shorter focal length eyepieces (such as 9mm or 4mm), achieving 119x or 238x magnification respectively. When shooting, enable the smartphone's shutter delay feature to reduce any slight movements that may occur when pressing the shutter.
Advanced Play: Professional Camera Mode
Once you’ve mastered the basic techniques, try using your smartphone’s professional mode for photography. In this mode, you can manually adjust settings such as ISO and exposure time. For example, during low-magnification shots, select ISO 200 to minimize noise; to photograph the "Old Moon in the New Moon's Arms," extend the exposure time to illuminate the darker side of the moon.
Conclusion
Today, capturing moon photos using a smartphone in conjunction with a telescope has become incredibly accessible. Whether shooting a panoramic view or intricate close-ups, each experience offers a remarkable sense of achievement for astronomy enthusiasts. While smartphone photography may still have room for improvement, leveraging a telescope makes this journey worth undertaking! Are you ready to give it a try?
Guest
ePkHQJOhm