Table of Contents
Imaging the Sun in white light with an SV705C.
A motor-focus modified Skymax127 Maksutov was fitted with a photographic grade Baader solar filter. An SV705C, fitted with an IR/UV cut filter was placed at the Cassegrain focus.
The equipment
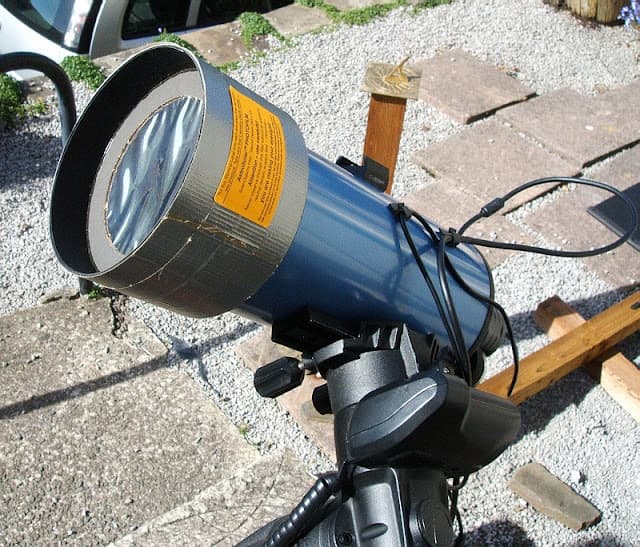
Showing electronic solar finder
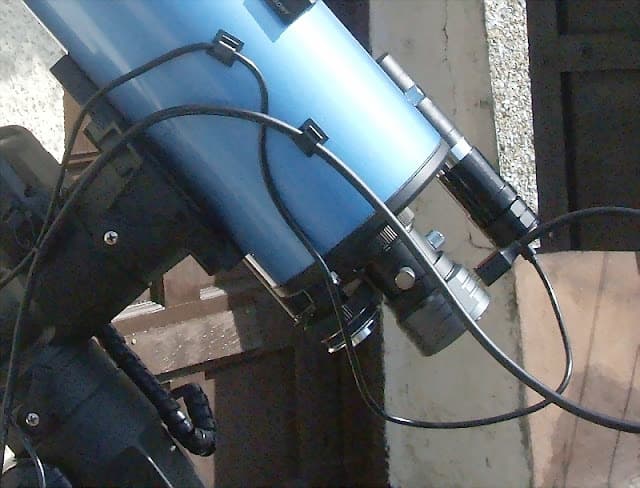
The electronic finder comprised an SV905C CMOS camera connected to an Angeleyes solar finder by means of a Barlow body.
The cable management was organised as usual so that the weight of the imaging cables did not pull down under gravity with the possibility of introducing torque forces on the imaging camera and causing slippage and rotation. The cables are supported in such a way that their weight is born entirely by the mount and not by the scope. Another advantageous result of this setup is that tracking is improved.
On a previous night the scope/camera was focused on the bright star Altair using a Bahtinov mask to achieve optimal focus.
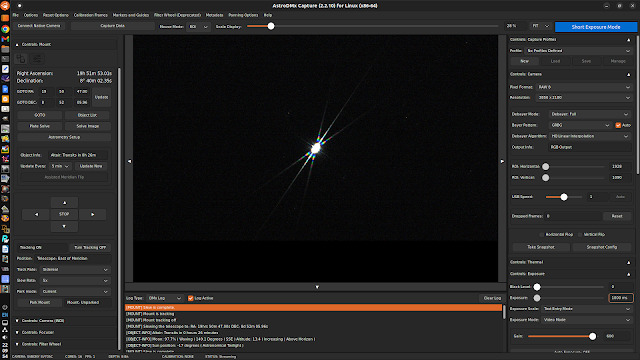
This focus was retained until this solar imaging session.
Two instances of AstroDMx Capture were run for a short time. One streaming data from the SV705C imaging camera and the other streaming data from the SV905C based electronic solar finder.
Data streaming from the solar finder
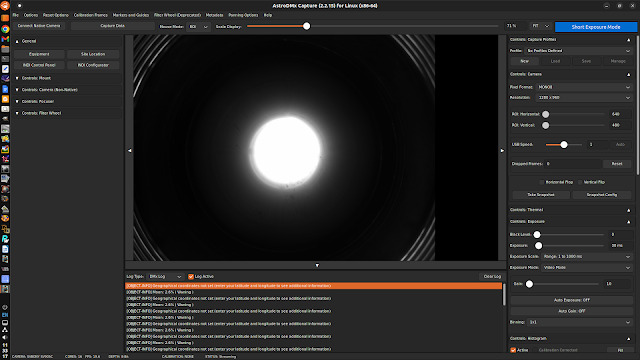
The Sun is centred in the finder which is fairly well co-aligned with the imaging scope and placed the Sun on the sensor of the imagin camera.
Data streaming from the imaging SV705C camera.
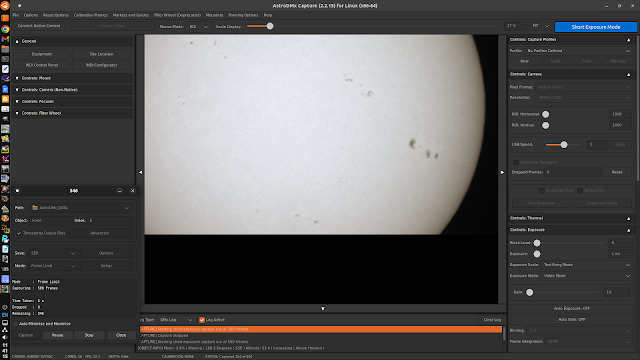
When the Sun has been acquired in the imaging camera’s field of view, the second instance of AstroDMx Capture is no longer required and can be stopped to save resources.
Using a resolution (ROI) of 800 x 600, AstroDMx Capture was used to capture a 5000 frame SER file of the active region AR 3423.
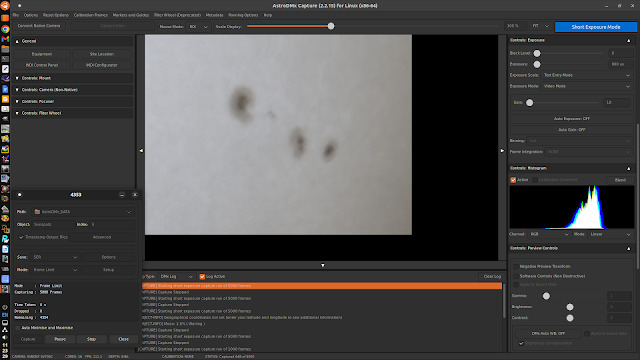
The best 20% of the frames in the SER file were stacked in Autostakkert!, wavelet processed in waveSharp and post processed in the Gimp 2.10
AR 3423
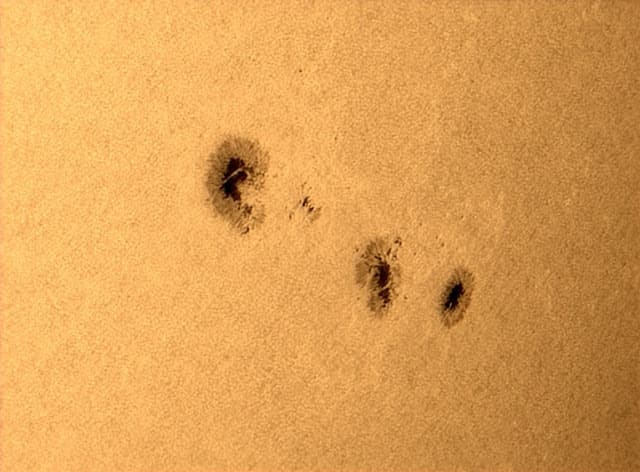
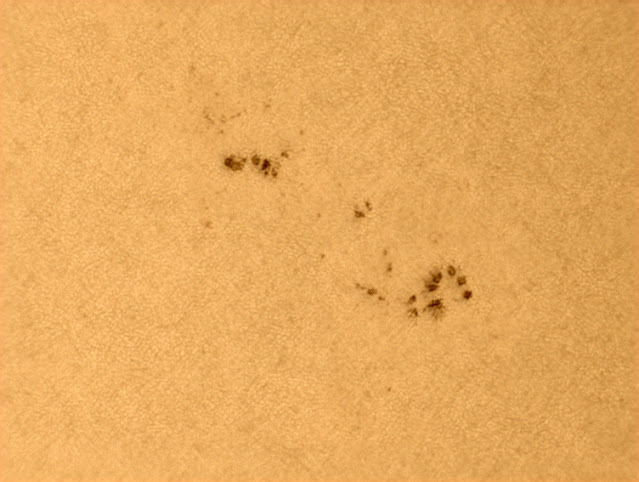
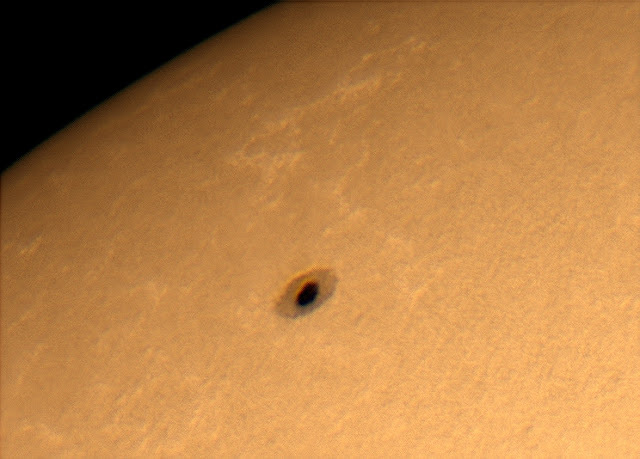
The process was repeated for he active regions AR 3425 and AR 3433 to produce details of these areas.
AR 3425
AR 3433
Microsoft ICE was used to make two mosaics from regions that were imaged at full resolution. Due to the limitations of the required overlapping features it was impossible to produce a mosaic of the whole disk. However, the two mosaics were able to show the active regions in relation to each other and the solar disk
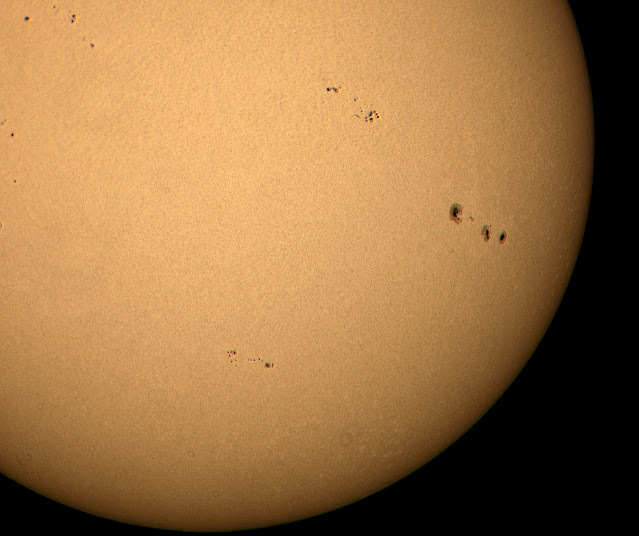
In this mosaic AR 3429, AR 3425, AR 3423, AR 3431 and AR 3430 can be seen.
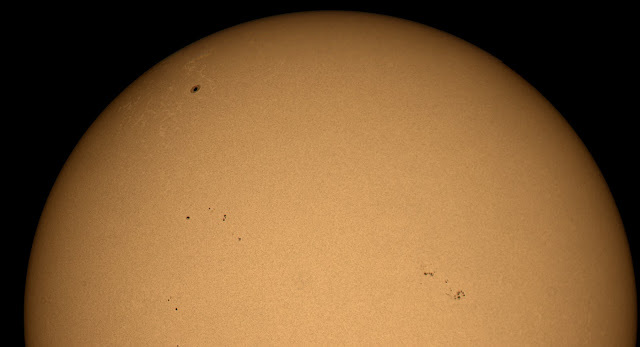
In this mosaic AR 3433, AR 3429, AR 3425 and AR 3431 can be seen, so all of the sunspot groups are accounted for.
The SV705C OSC CMOS camera proved to be a competent solar imager in this white light imaging session.
In AstroDMx Capture it is now possible to type in values for microsecond exposures whereas previously a slider had to be used. In order to do this ‘us’ is used to represent ‘µs’ this is, of course, because there is no ‘µ’ on the computer keyboard. A ‘u’ is a reasonable approximation to the micro symbol ‘µ’. So, for example, if we wish to type in 200 microseconds, we simply type in ’200us’ and press Enter. The slider is still, of course, available. This feature will be in the next release of AstroDMx Capture, which Nicola is currently updating with new camera SDKs and is also preparing for the implementation if INDIGO.
You can check more information on Steve's own website,
imaging.blogspot.com/2023/09/imaging-sun-in-white-light-with-sv705c.html
and of course you can also leave us a message and we will try to solve more problems for you.!

There are no customer reviews yet . Leave a Reply !