My review of my new Svbony SV705C camera - First test on Planetary imaging!
My review of my new Svbony SV705C camera - First test on Planetary imaging!
My review of my new Svbony SV705C camera - First test on Planetary imaging!
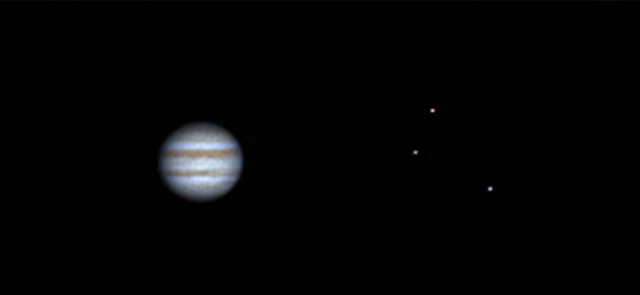
So all the following images shown below were all captured consecutively over 2 nights of testing and imaging. I used Astrosurface for stacking, sharpening and color balancing only. Capture frames for planetary were around 3000 frames each using RAW 16 (SER) stacking 70 percent of the frames. Of course the frame rate is double in RAW 8 as opposed to RAW 16 mode but I wanted to test the dynamic range of the camera on these targets to see if i could get more detail and better color range on the planets hence I used RAW16. On the first evening of testing I used a gain rate above the optimum HCG gain of 252 around 300 to 350 or so for imaging which turned out ok actually but I realized was not the optimum gain to use in terms of dynamic range and optimum low noise for this sensor. On the second night out (under slightly worse conditions as noted above) I used a gain of 252 only and adjusted the exposure accordingly for each planet I imaged. I think on the second night I actually got slightly better images in terms of color range and details and this is quite noticable on Jupiter (see figure 12-14 below) even though conditions were slighly worse outside.
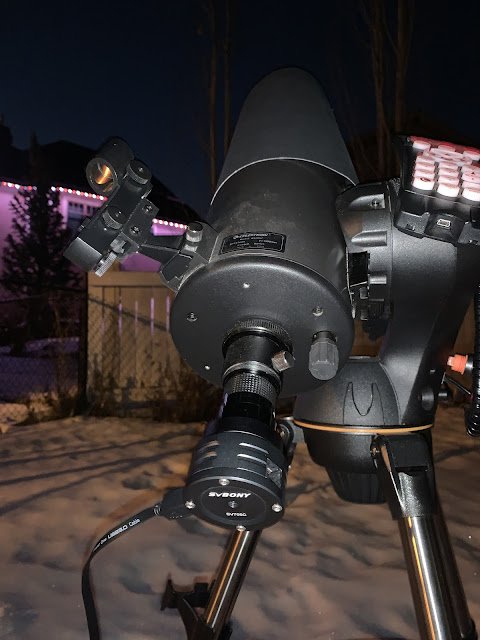
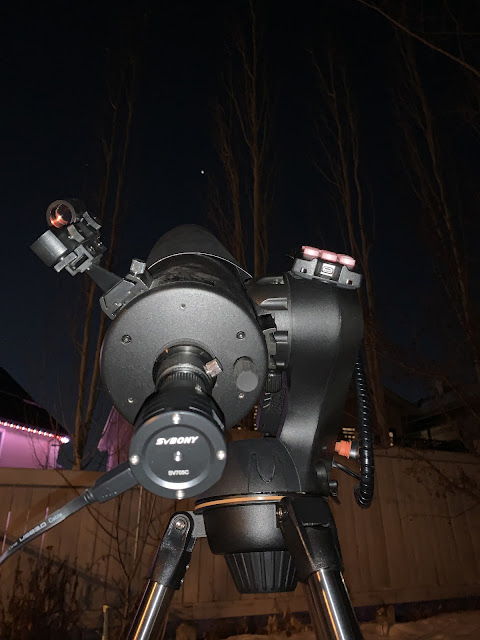
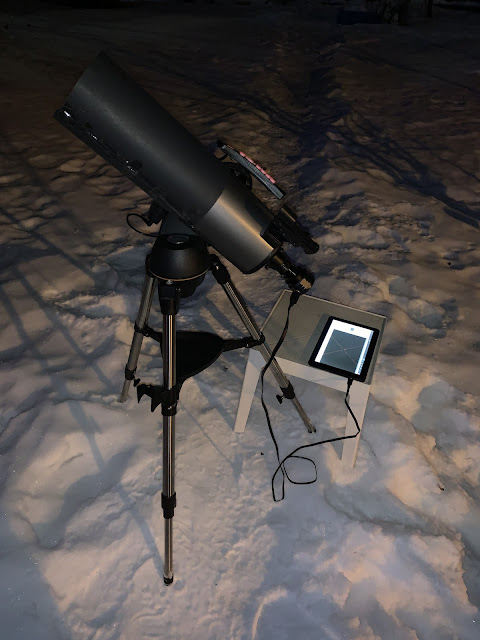
For testing the equipment I used was my trusty and favorite scope for planetary imaging the Celestron 127SLT with a Svbony 2X Archomatic barlow attached and this SV705C camera attached to the barlow (See figures 1 to 3 below). Of course the scope was on my Celestron Nextstar goto mount and setup via the planetary alignment mode for planetary imaging. Imaging over the 2 nights was in decent seeing conditions but cold outside. On the second night I had some hazier conditions with some upper atmospheric instability both in my bortle 9 light polluted sky.
I. Scope Setup used:
Figures 1-3: Celestron 127SLT Mak (FL 1500mm) on Celestron Nextstar Goto Mount with Svbony 2X Achromatic barlow attached
II. The stacked results:
1. Capturing Beautiful Venus:
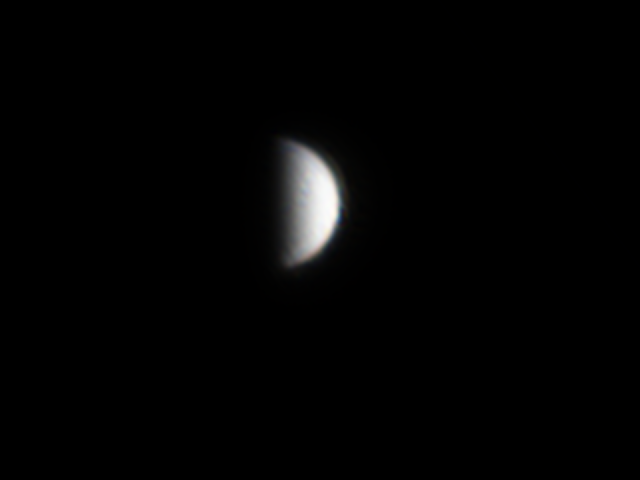

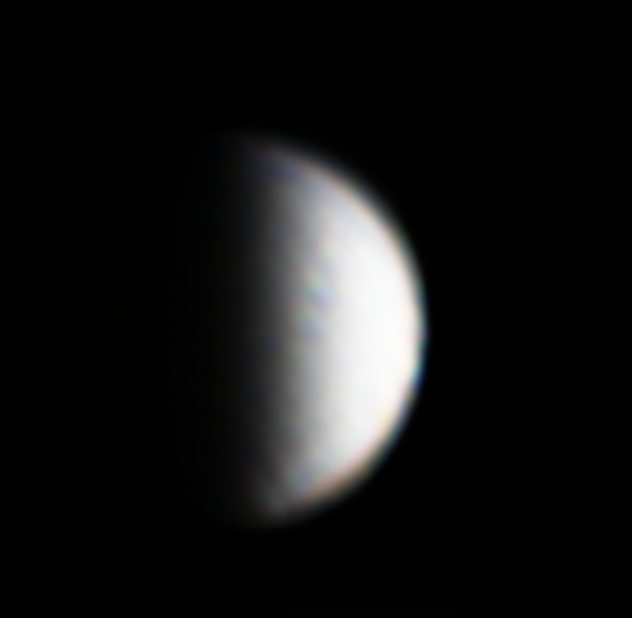
Figures 4-6: Venus at around 20 degrees on evening 1 (low on the horizon just above the back of my house not optimal)
2. Capturing Mighty Jupiter:
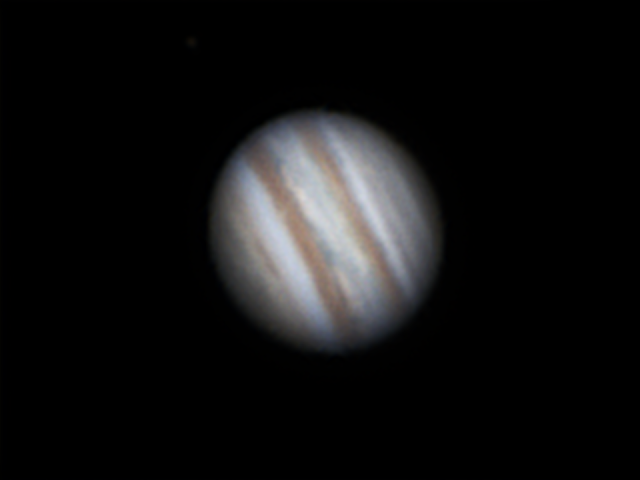
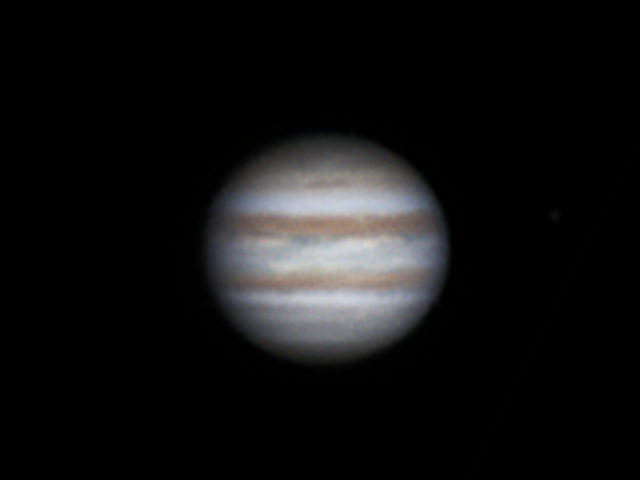
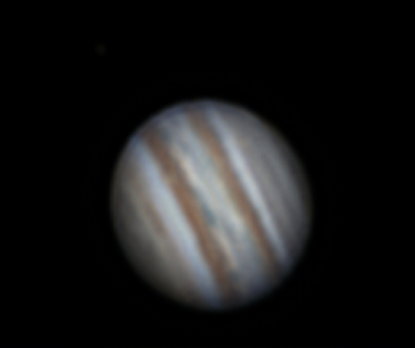
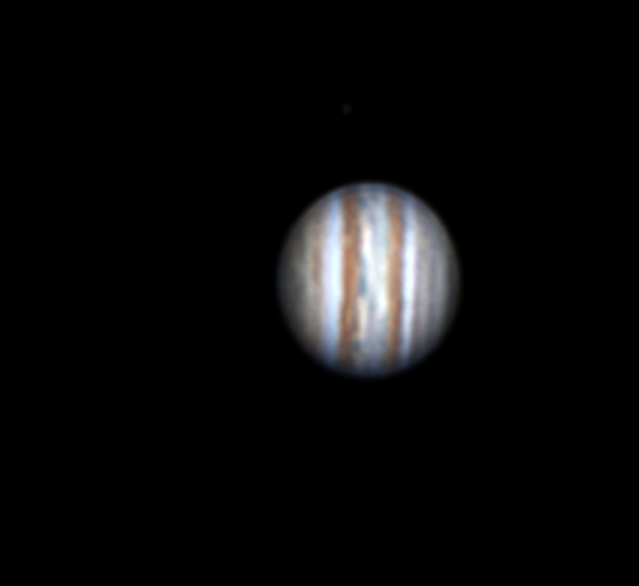
Figures 7-11: Jupiter with IO on evening 1 (high up around 70 degrees decent viewing)
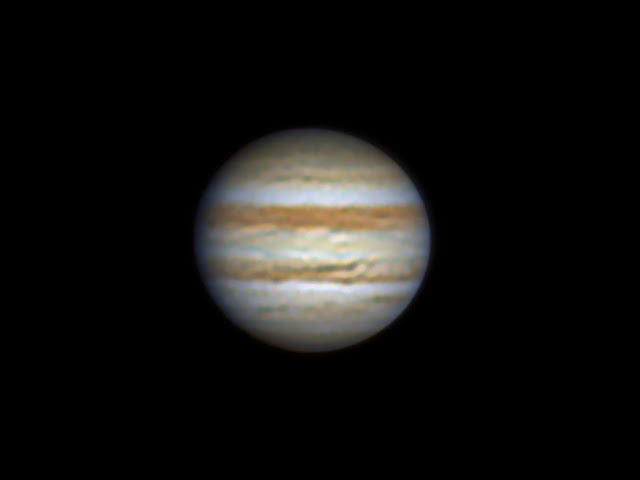
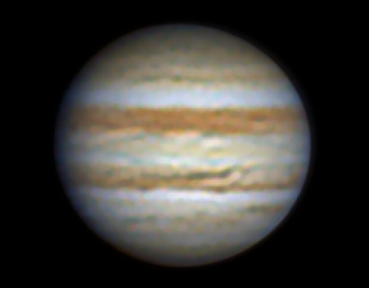
3. Capturing Mars:
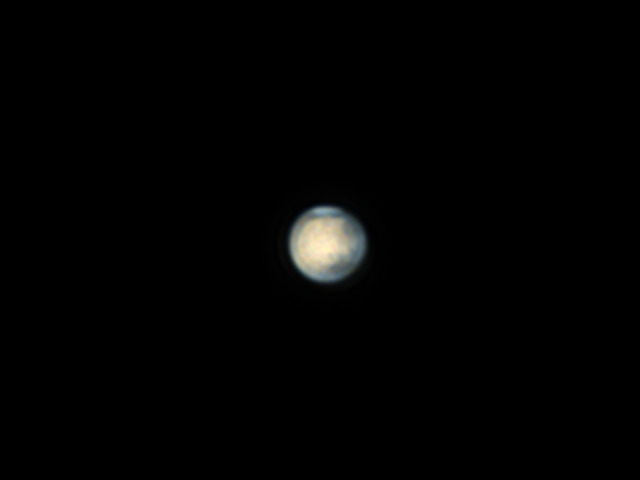
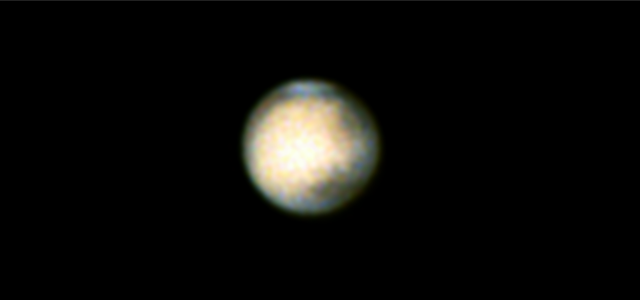
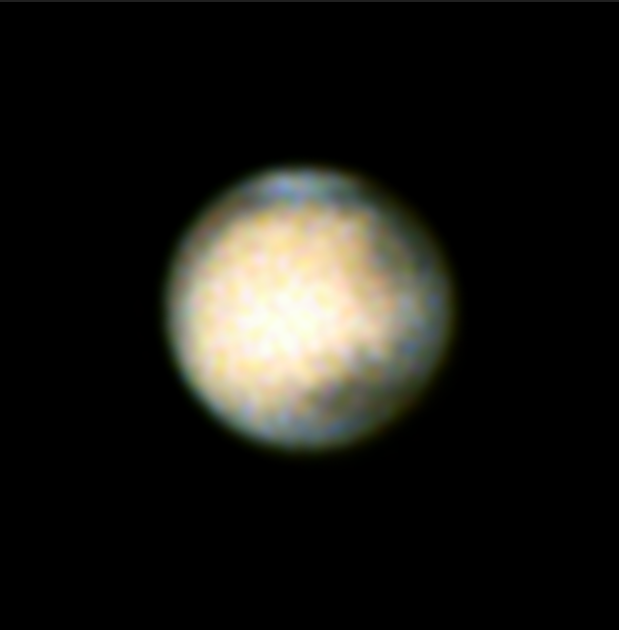
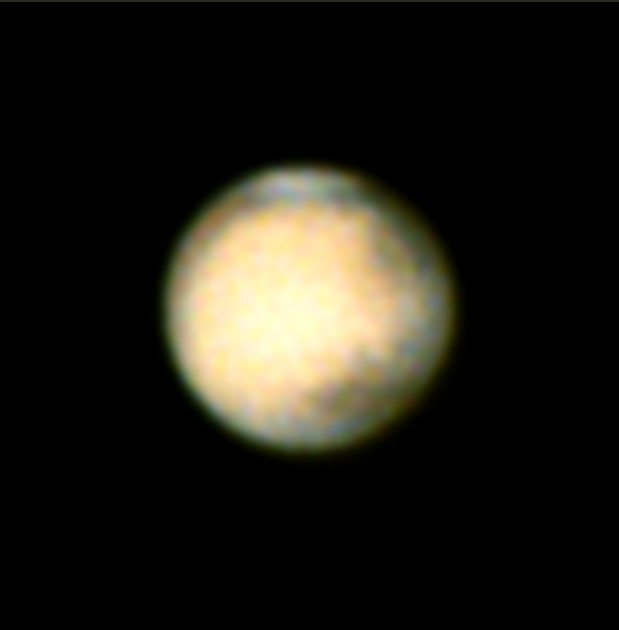
Figures 16-20: Mars on evening 1 (around 35 degrees decent viewing)
4. Capturing Methane Rich Distant Uranus:

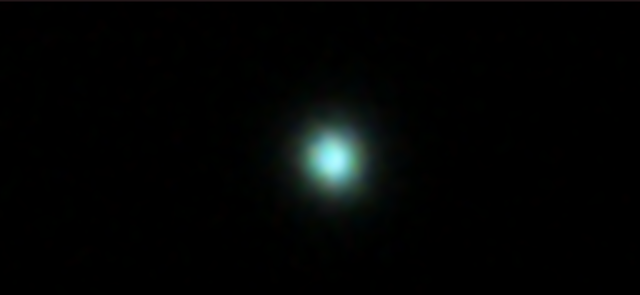
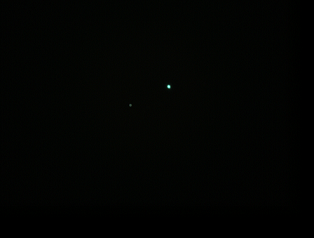
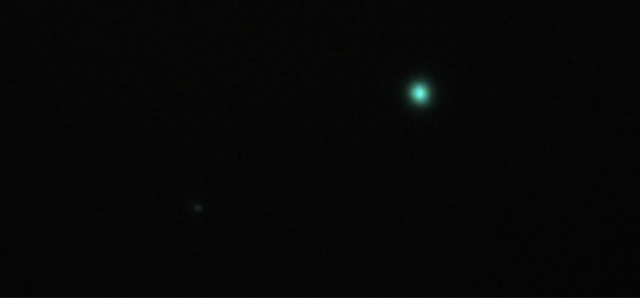
Figures 23-24: Uranus with moon Ariel on evening 2 (around 45 degrees decent viewing)
5. Capturing Super Dim But Beautiful Neptune:
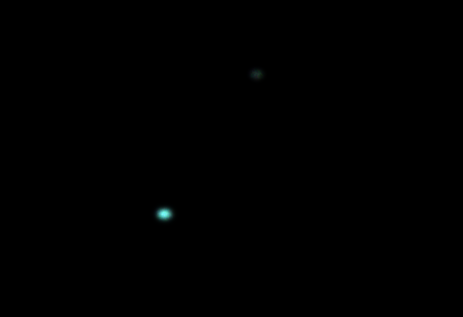

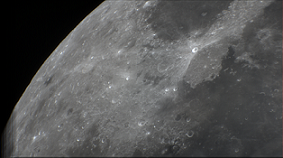
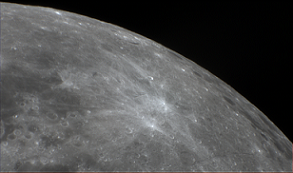
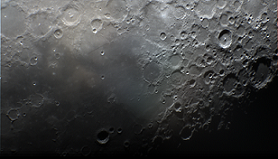
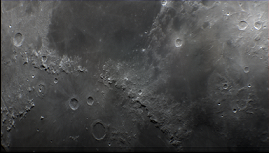
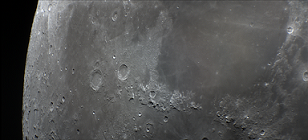
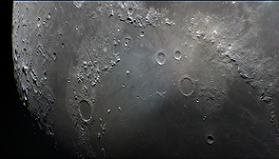
Figures 32-38: Nice Moon captures on evening 1 (at 60 degrees mineral moon nice)
7. Moon stitching with Microsoft ICE!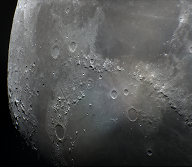
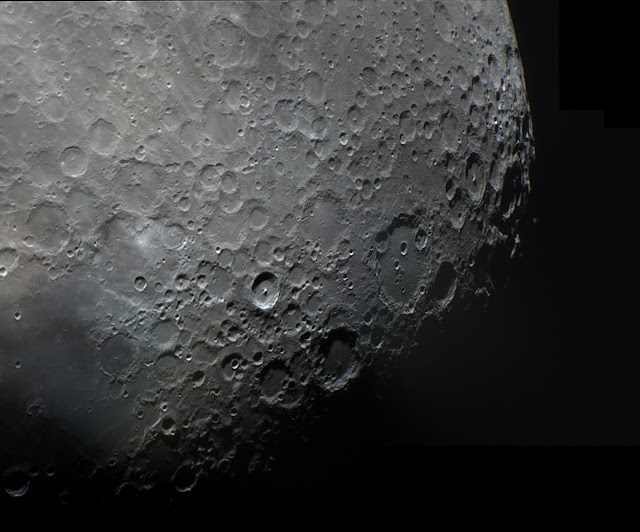
Figurez 39-40: Some nice stiched moon captures from above captures (using Microsoft ICE)
8. Analysis and Conclusions:
In my opinion this planetary camera definitely produced some pretty nice planetary captures I especially love the captures of Jupiter on night 2 once I figured out the optimum exposure settings using the HCG gain mode at 252. Using the auto color adjustment function in Sharpcap before imaging each planet produced well balanced colors and turned out to be a good approach to color balacing during the imaging sessions otherwise I found a green tint to my captures I would have to color adjust out afterwards postprocessing. During my 2 nights of planetary imaging I had no issues getting great color balance with this camera with use in Sharpcap with this method.
Framerates were pretty descent in the 640 by 480 ROI mode I was using for planetary ROI capturing and the frame rate ranged from 45 fps to 100 fps depending on whether or not I was using RAW 8 or RAW 16 color modes and based on the exposure length used for each planet imaged and course from planet to planet varied a fair bit. Of course exposure time was lowest for Venus in the 3 to 6 ms range all the way up to Neptune at 6 seconds and maximum gain due to its dimness (Uranus and Neptune used well above HCG gain of 252 due to dimness). Not bad franerates produced from this camera at all for planetary most definately good enough with the use of semi-modern computer or tablet equipment to get great captures under decent conditions for sure. Of course better computer hardware using a a fast SSD for example, etc would yield much much faster frames rates I am sure and could yield even better results. Also the the fast framerates are definitely fast enough to help cut through atmospheric turbulence I did experience on night 2 when the atmospheric was not as still as the first night of imaging. The use of USB3 in this planetary camera (as opposed to USB2 in the Svbony SV305C I also use for imaging) allowed me to capture many many more frames in a much shorter period of time due to the much faster frame rate produced. This resulted in allowing me to stack many more frames captured yielding in better planetary images with much less noise and artifiacts. Be warned since this a 8MP camera and with more frames being captured at full resolution (like I did on Uranus and Neptune) be prepared to use much more strorage on your computer you will need it.
I typically use a very high focal length with my Mak scope anywhere from 3000mm to 4500mm and on my Celestron computerized Nextstar goto mount that makes the mount sometimes very hard to get accurate gotos or tracking that drifts since it cannot track precisely or accuately enough. This is simply due to the extemely narrow field of view I image with and I just cant track or goto with the precision needed on my basic goto mount. I would need a higher end (much more expensive) mount to get this type of precision at these very high imaging focal lengths. Here is where the larger sensor in the Svbony SV705C comes in very handy.
The larger sensor in the Svbony SV705C definitely helped me these 2 nights with both gotos and tracking drifting with the much larger sensor afforded to me in this camera. On my smaller sensor Svbony SV305C a lot of the time the planets would not be in the sensor area and I would have to skew the scope around to circle and find the planet. A timeconsuming and sometimes frustrating exercise! With the Svbony SV705C camera my gotos the planets always showed up in the sensor field of view even if out near the outer edges of the sensor. And second with drifting during tracking I could let it drift much longer and capture more frames on targers like Uranus and Neptune at full resolution. This turned out to be a nice feature from this camera as it allows me to use my very high focal length Mak scope with much more forgiveness in aquiring and tracking targets (done intially at full camera resolution then dialed in to ROI resolution for imaging) fantastic! I love this additional sensor area headroom this camera allows me to use for planetary imaging in its various resolutions and modes.
The second great attributes of this camera is the image quality, resolution, dynamic range and color balance you can get. I found the detail and color accuracy extremely good. I could definately see the difference in color dynamic range especially on 16 bit RAW captures of Jupiter (see night 2 above wow). It definitely produced better captures than my entry level Svbony SV305C camara which is not a bad camera at all either. I am not sure if this is due to any real sensor difference (they use very similar specs and spectral responses almost identical other than sensor size) and may be due to the increased framerate that USB3 provides over USB2.
9. Final Comments:


