Firmware Tool for SV205 (IMX415) to Compatible with Mac OS USB3.0
Firmware Tool for SV205 (IMX415) to Compatible with Mac OS USB3.0
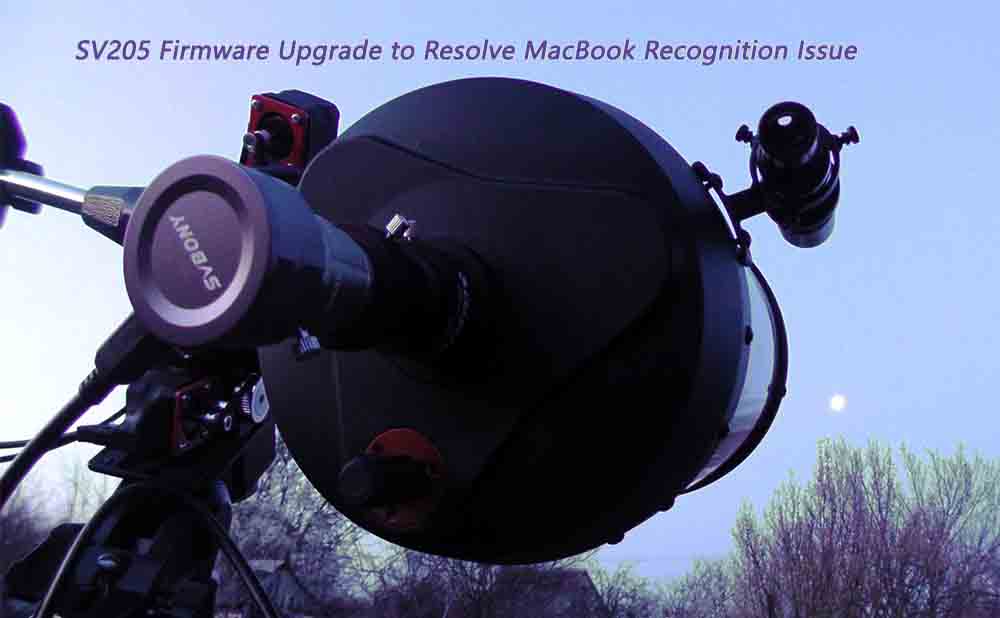
The SV205 camera is a popular choice among astrophotographers. However, some users have encountered compatibility issues with MacBooks, resulting in the camera not being recognized. In this blog post, we will guide you through the process of upgrading the SV205 IMX415 firmware to address this problem.
Step-by-Step Firmware Upgrade Process:
1. Download and Extract the Upgrade Package
Start by downloading the firmware upgrade package for the SV205 camera. Once downloaded, extract the contents of the package to a convenient location on your computer.

2. Connect SV205 Camera to a Windows Computer
To perform the firmware upgrade, connect your SV205 camera to a Windows computer using the provided USB cable. Ensure that the camera is powered on.
3. Run the Firmware Upgrade Program
Locate and run the firmware upgrade program from the extracted upgrade package. Follow the on-screen instructions to initiate the upgrade process.
The SV205 astronomy camera IMX415 firmware version before the upgrade: VID_0BDA&PID_5880&REV_0013
The camera firmware version after the upgrade: VID_0BDA&PID_5880&REV_0016
If your camera's firmware version matches the latter one, it means that your camera has been successfully upgraded to the latest firmware version.

4. Verify Successful Upgrade
After the upgrade completes, verify the firmware version displayed on the screen matches the new version. Additionally, check for a green "pass" indication to ensure the upgrade was successful.

5. Test SV205 Camera on MacBook
Connect your SV205 camera to your MacBook and launch the Photo Booth application. Within the application settings, navigate to "Camera" and select the SV205 camera. You should now be able to see the live image feed from the camera.

6. Install and Launch AstroDMX Capture
If you intend to use the SV205 camera with AstroDMX Capture on your MacBook, first install the required dependencies as instructed. Open a terminal window and follow the provided commands to set up the necessary components.


Pls note that firmware upgrades should be performed carefully and at your own risk. Ensure you have a stable power source and follow the instructions precisely to avoid any potential issues.
7. Start AstroDMX Capture and Complete Setup
Launch AstroDMX Capture, and when prompted, enter the specified code and your user password in the terminal window. This step is necessary for the initial setup. Once completed, AstroDMX Capture should successfully launch and display live images from your SV205 camera.
By following the above steps, you can upgrade the firmware of your SV205 camera to address the MacBook recognition issue. After the upgrade, your camera should be recognized by your MacBook.
Please note that firmware upgrades should be performed carefully. Proceed with caution and ensure that your camera model is SV205 IMX415, before attempting the aforementioned upgrade. If you have confirmed the need to perform the upgrade, please contact our email: support@svbony.com to obtain the firmware download link.
Happy astrophotography!