Exploring the SV555 Astrograph - A Comprehensive Guide to Filter Installation

Exploring the SV555 Astrograph - A Comprehensive Guide to Filter Installation
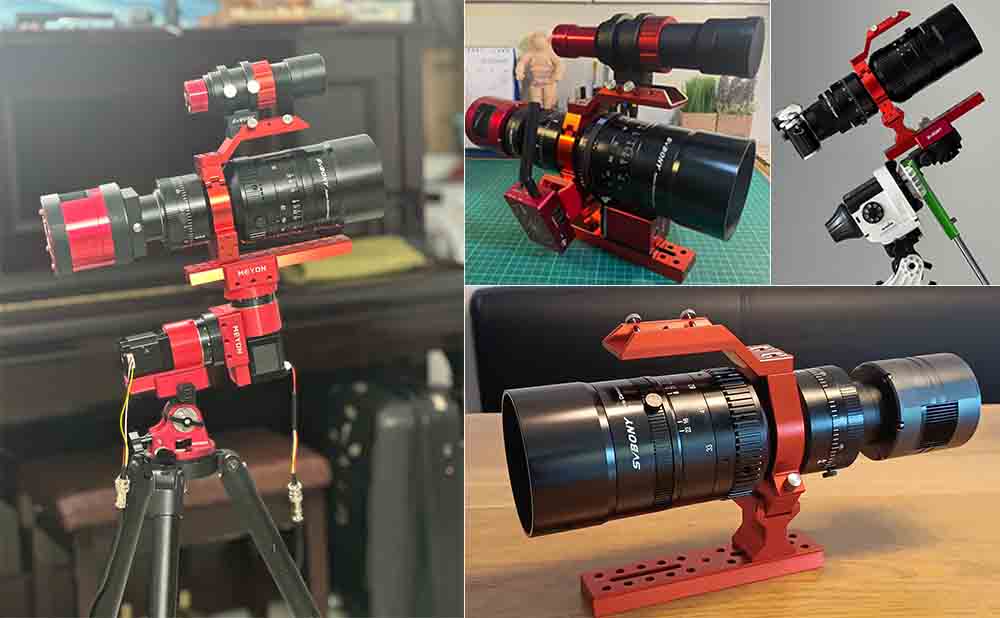
Astro-imaging is a great way to share your views of the sky with friends and family. With an astrograph telescope, you can easily look back at your favorite celestial objects and enjoy views of the sky anytime you want. The SV555 Astrograph is a sophisticated compact travel telescope designed specifically for astrophotography. Its complex structure allows for exceptional imaging capabilities, making it a favorite among astrophotographers. In this blog, we'll guide you through three effective methods for installing filters on the SV555 Astrograph, ensuring you can capture stunning celestial images with ease.
Why Choose the SV555 Astrography Telescope?
Astrographs are specially designed telescopes that cater to photographers of the night sky. With the SV555, you can effortlessly document your celestial observations and share them with friends and family. Its high-quality optics produce bright, crisp images, allowing you to focus on the fine details of distant objects.
Methods for Installing Filters on the SV555 APO
To maximize your astrophotography experience, here are three methods for installing filters on the SV555 Astrograph:
Method 1: Internal Filter Installation
- Remove the cover: Unscrew the protective cover at the tip of the SV555.
- Access the M72 thread: Once removed, you'll find an M72 threaded interface, which allows you to attach M72-sized filters directly inside the telescope.

This method is straightforward and ideal for users who prefer a quick setup.
Method 2: Back End Filter Installation
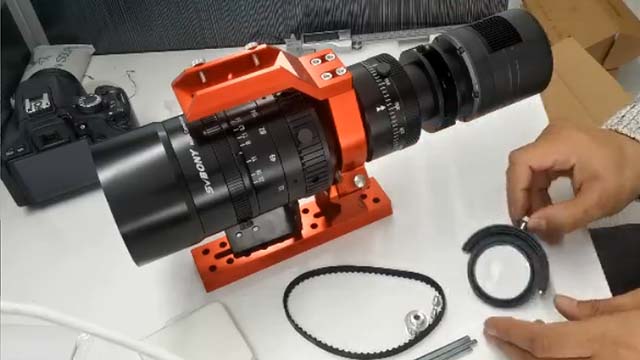
- Loosen the screws: Start by loosening the four screws located at the back end of the SV555.
- Install the filter: Securely attach your filter in place.
- Tighten the screws: Once the filter is in position, tighten the screws to secure it.

While this method is slightly more cumbersome, it's recommended for universal filters like UV/IR cut filters. For specialized filters, consider using a filter drawer for convenience.
Method 3: Filter Installation by the Filter Drawer or Filter Wheel
For those using CMOS cameras, we recommend external installation with the SV226 Filter Drawer. Simply replace the 21mm adapter ring with the SV226 filter drawer (which has a thickness of 21mm). This method allows for easy swaps between filters without the need to disassemble your setup.
Note: The rear focus distance for the SV555 is around 52-55mm due to the mechanical error. You can use a filter to assist in obtaining the accurate focus position.
Important Considerations
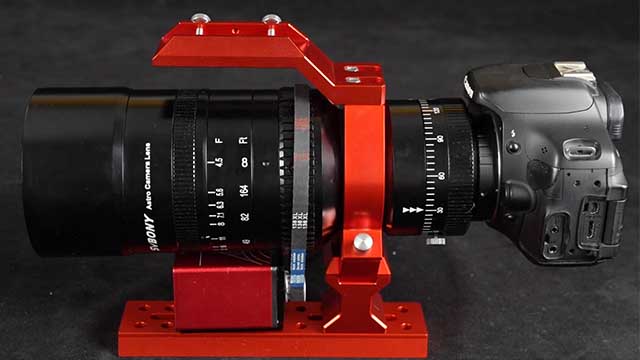
- When using DSLR cameras, stick to either Method 1 or Method 2, or opt for filters specifically designed for DSLRs.
- For CMOS camera users, Method 3 is optimal due to the frequent need to change filters.
Conclusion
The SV555 Astrography Telescope APO is an excellent choice for both amateur and professional astrophotographers looking to enhance their celestial imaging capabilities. By following the outlined methods for filter installation, you can make the most out of your astrograph and enjoy capturing the beauty of the night sky.
With the right setup and techniques, you’ll be able to share breathtaking views of the cosmos anytime you wish. Happy stargazing!


