SVBONY's first cooling camera SV405CC Review

SVBONY's first cooling camera SV405CC Review
What is a cooling camera?
The light receiving sensor of the camera becomes more noisy at high temperatures and less at low temperatures. By cooling the light receiving sensor, you can obtain a low noise image.
In addition, the temperature control function of the cooling device allows you to shoot at a constant temperature during use, so you can obtain a uniform image without being affected by changes in the outside temperature even when shooting for a long time.
Opening Ceremony
Well then, I will open it!
Opened
Here is the state that arrived from SVBONY.

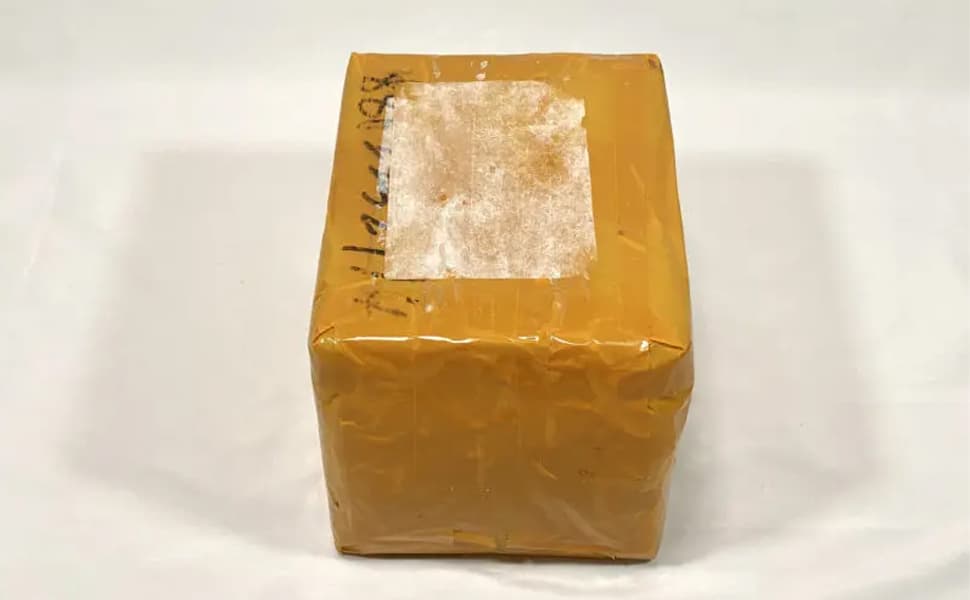
It is tightly packed with cushioning material + vinyl tape from the top of the outer cardboard. If you cut it open with a utility knife etc., the exterior will appear.

Inside the cardboard was a box of packages, another paper box, and a souvenir key chain.

The shallow white box contains the AC power adapter.

The key chain is solidly made.

And the main dish. Click here for the box of the SV405CC main unit.

Inside the package, you can see the camera in the bag and accessories.

When the contents are arranged, it looks like this.

accessory
It comes with multiple adapters that can be used to connect the SV405CC to an astronomical telescope.
M42-M48 conversion ring
You can convert M42 screws to M48 screws.

T2 – 1.25 inch conversion adapter
You will be able to attach a 1.25 inch filter to the T2 mount.

1.25 inch T2 conversion adapter
You will be able to connect the SV405CC to an American-sized eyepiece.

M42 Male – M48 Female – 16.5 Extension Tube
M42 males can be converted to M48 females and can be extended by 16.5 mm.


M42 Male – M42 Female 21mm Extension Tube
M42 males can also be converted to M42 females and can be extended by 21 mm.


T2 adapter
Originally connected to SV405CC.

spacer
M42 size resin ring. It can be used to fine-tune the back focus distance.

SV405CC body
Finally, the main body is here! When you open the special case, the SV405CC wrapped in a cushion will come out.

I will take it out of the case.

You can see the heat dissipation plate on the side of the camera. The sensor protection cap is on the left side. This cap is so loose that it could slip off when lifted.

Click here for the sensor section.

Driver installation
Install the driver before connecting the SV405CC to your computer. Open the SVBONY driver download page.
Click "Windows" on the left menu and download "SVBONY Cameras" in "Native Drivers".

Double-click the downloaded driver.
The User Account Control screen may appear before launching the installer, in which case click Yes to continue.

The installer will start, so click "Install".
The installation will be completed in a few seconds. Click "Finish" to close the screen.

This completes the driver installation.
How to connect an astronomical telescope?(For more information about sv405cc camera, please refer to the original text)
Welcome to comment.


