
Table of Contents
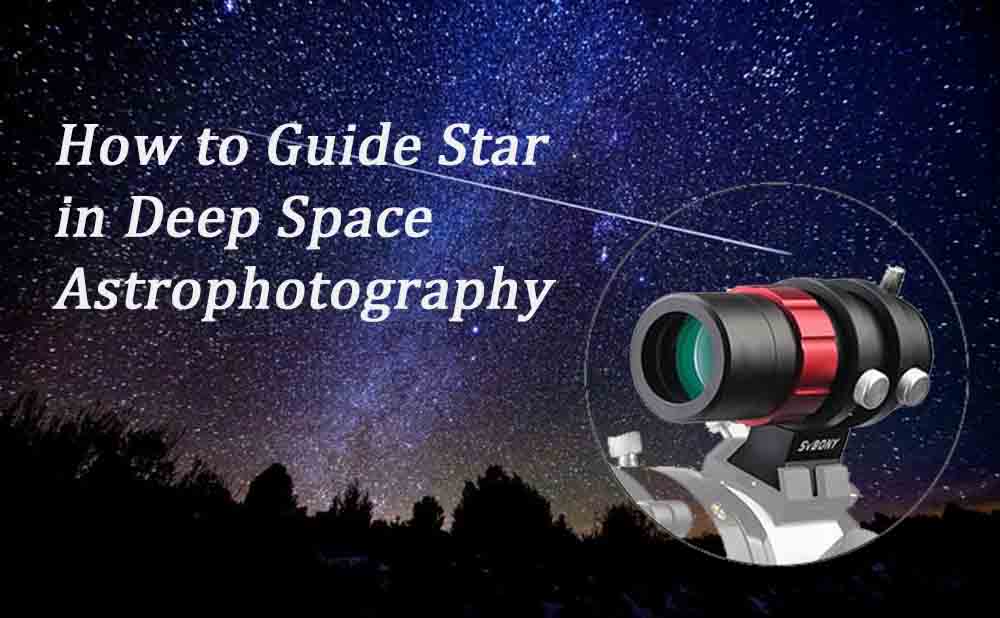
How to Guide Star in Deep Space Astrophotography
If you are a beginner in deep space astrophotography and want to learn how to use the SV165 guiding camera, this blog is perfect for you. It will guide you through the steps of guiding and address common issues that may arise during the process.
Step 1: Hardware Connections
· If your guide camera has an ST4 guide port, you can connect it to the ST4 port on the equatorial mount using an ST4 cable. Connect the guide camera to your laptop via USB.
· If your guide camera does not have an ST4 port or if you are not using it, simply connect the guide camera directly to your computer using a USB cable (usually provided with the guide camera).
Step 2: Install Guiding Software After making the connections, install the guiding software on your computer. Make sure to install the latest version of the software and its corresponding drivers.
Step 3: Initial Testing If you are unable to see any target or if the guide screen is completely black (or bright), try the following:
It is generally challenging to achieve successful focusing at night. It is recommended to perform initial testing during the daytime when brighter targets are available. Point the guide camera towards a distant object during the day and try optical focusing to see if any faint image appears on the screen.
If the screen is too bright during daytime testing, reduce the camera gain (e.g., 0-50) and decrease the exposure time (e.g., 0.001 seconds). Alternatively, partially cover the objective lens of the guide scope with a piece of paper in front of it to reduce the light intensity. This should result in a dimmer but visible image on the screen. Continue focusing until the target becomes clear. Mark the focused position for later use at night when the camera gain can be increased and exposure time can be lengthened.
Step 4: Ready for Guiding Once you have completed the above steps and can successfully capture images with the guide camera, and the computer can control the equatorial mount, congratulations! You are now ready to begin the actual guiding process.

Common Factors Affecting Guiding:
Misalignment or improper adjustment of the mount's polar axis, or failure to tighten the final adjustment screws for right ascension and declination.
Improper balance of the equatorial mount or cable management issues leading to changes in the system's center of mass.
Poor focus of the guide camera resulting in subpar guide star imaging that affects data acquisition.
Incorrect guiding settings.
Insufficient brightness of the guide star or mistaking noise for the guide star.
Strong wind causing slight movements in the equatorial mount due to wind pressure.
Poor atmospheric seeing conditions leading to significant fluctuations or even inability to guide.
There are no customer reviews yet . Leave a Reply !